This tutorial is about the condition commands C/C++ has which allow you to make automated decisions in your program. You already used conditions when you did loops (perhaps without realising it), but in this episode we will look at more explicit conditions.
Previous Part: Sprites and LoopsNext Part: Floats
Getting the stuff you need
For this tutorial, you will be using the same template from the 2nd tutorial:
As in the previous episodes, we’ll use the template again. But you will need to know how to use your sprites from our last adventure – so if you have not done that one please go back and do so now.
Extract a fresh version of the template to a folder (for example, C:\Projects\conditions or wherever you saved your projects from the previous tutorials), remove the hello world code from the Game::Tick function, and then we’re ready to begin.
Your Game::Tick function should look like this now:
|
27 28 29 30 |
void Game::Tick(float deltaTime) { } |
At this point you probably have several projects that are all called tmpl_2019-08, which can get annoying, especially if you have several projects open at once.
You can quite easily rename your project:
- First, make sure Visual Studio is closed.
- Then, run
clean.batfile that is in the root folder of the template project. This script removes all of the files that are regenerated by Visual Studio when you recompile the project. It reduces the size of the folder and gets rid of clutter. - Next, rename the project files:
tmpl_2019-08.slnbecomes e.g.myproject.sln;tmpl_2019-08.vcxprojbecomesmyproject.vcxprojandtmpl_2019-08.vcxproj.filtersbecomesmyproject.vcxproj.filters. Make sure you use the same name each time (in this case, myproject). - Now, right-click
myproject.sln, select Open With, and use Notepad (or Notepad++) to edit the file. You will see thattmpl_2019-08.vcxprojis mentioned in there; replace this bymyproject.vcxproj. - Optionally, replace
Templateby something else, e.g.Conditions. If you do this, you also need to openmyproject.vcxprojin Notepad. Look for a line that readsTemplateand replaceTemplatebyConditionshere as well.
Now open the .sln file with Visual Studio again. Remember, Visual Studio is just a tool, and we just gained a bit more control over it.
To Bounce or not to Bounce
In your Game::Tick loop from the last lesson, you put a sprite on screen. Let’s do that again.
Add a Sprite variable above the Game::Tick function:
|
27 28 29 30 |
Sprite theSprite(new Surface("assets/ball.png"), 1); void Game::Tick(float deltaTime) { ... |
Make your Game::Tick function look like this:
|
28 29 30 31 32 |
void Game::Tick( float deltaTime ) { screen->Clear( 0 ); theSprite.Draw( screen, 0, 0 ); } |
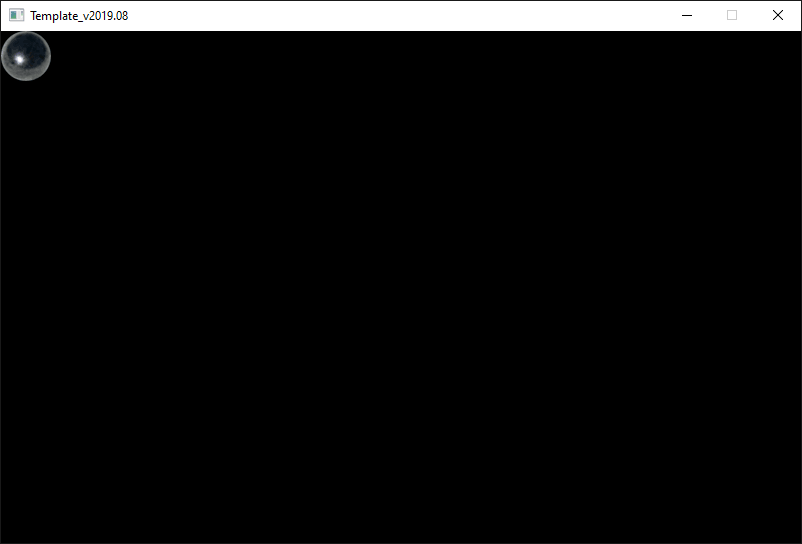
Try and run this and make sure you get an image of a ball in the top-left corner of the screen.
Let’s move our Sprite down a little bit and then move it around using your variable skills. Above the Tick function and below the Sprite definition add a couple of global variables.
|
27 28 29 30 31 32 33 |
Sprite theSprite(new Surface("assets/ball.png"), 1); int spriteX = 0; int spriteY = 100; int speed = 1; void Game::Tick(float deltaTime) { ... |
Hopefully these variable names will explain their function. Notice also that each variable is set to an initial value.
Now let’s alter the Game::Tick function a little:
|
31 32 33 34 35 |
void Game::Tick( float deltaTime ) { screen->Clear( 0 ); theSprite.Draw( screen, spriteX, spriteY ); } |
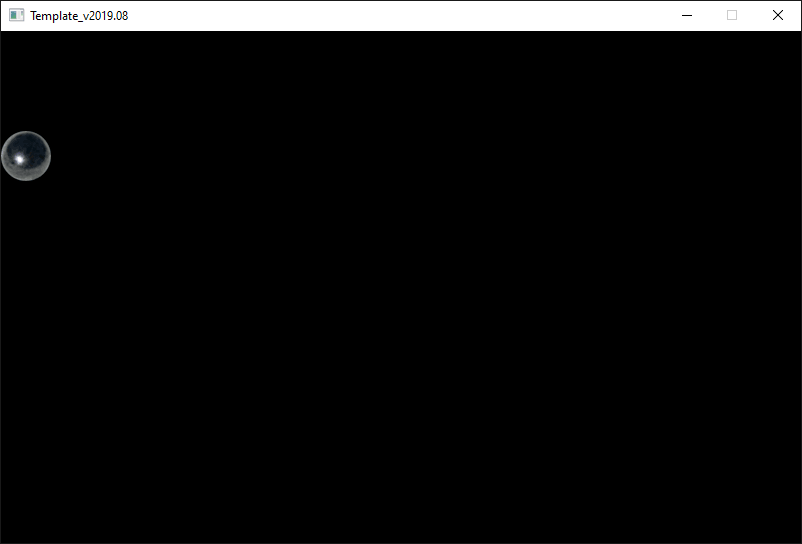
Run this and you should see your sprite is now drawn a little lower in the screen.
Now let’s make the sprite move. Add two lines to the Game::Tick function:
|
31 32 33 34 35 36 37 |
void Game::Tick(float deltaTime) { screen->Clear(0); theSprite.Draw(screen, spriteX, spriteY); spriteY += speed; speed += 1; } |
Now the sprite quickly leaves the bottom of the screen. It would be nice obviously if it would bounce back at the bottom… That’s where conditions come in. If it has reached the bottom of the screen is a condition, and we can actually use something very close to that in our code:
|
37 38 39 40 41 |
if (spriteY > (512 - 50)) { spriteY = 512 - 50; speed = -speed; } |
That looks simple enough, but there’s a lot of detail in there.
First, 512: That’s the bottom of the screen, but sprites are positioned relative to their upper-left corner. The sprite we use has a height of 50 pixels, so we can make it bounce on the bottom of the screen when the sprite’s Y coordinate is greater than (512 - 50).
Next, lines 39-40 is the code that is executed if the condition is true. On line 39 the Y-coordinate of the sprite is reset to be exactly at the bottom of the screen in case the sprite has traveled farther than the bottom of the screen.
On line 40, the speed is inverted which causes the ball to move in the opposite direction.
(512 - 50) on line 37. Why? Well, we want to compare spriteY against the result of 512 - 50, instead of subtracting 50 from the result of spriteY > 512.
Read more about operator precedence here: Operator Precedence in C++. Are the parenthesis really needed in this case?
Or Else
To add a bit of drama to the bouncing, we can flash the background when the ball hits the bottom of the screen. Try this:
|
31 32 33 34 35 36 37 38 39 40 41 42 43 44 45 46 47 |
void Game::Tick( float deltaTime ) { spriteY += speed; speed++; if (spriteY > (512 - 50)) { spriteY = 512 - 50; speed = -speed; screen->Clear( 0xff0000 ); theSprite.Draw( screen, spriteX, spriteY ); } else { screen->Clear( 0 ); theSprite.Draw( screen, spriteX, spriteY ); } } |
This time, we have two code blocks related to the condition. The second block is executed when the condition is false.
Booleans
In many programming languages, true and false are boolean values. We can store these in a bool variable:
|
33 34 |
bool hitBottom = spriteY > 512 - 50; if (hitBottom) { ... } |
Interesting question is of course how the computer stores these values in memory. Let’s try to gain some insight. Modify your Tick so that it uses the hitBottom boolean. Then, print the boolean to the text window:
|
31 32 33 34 35 36 37 38 39 |
void Game::Tick(float deltaTime) { spriteY += speed; speed++; bool hitBottom = spriteY > (512 - 50); printf("hitBottom: %i\n", hitBottom); if (hitBottom) { ... |
Run the program, and bring the console window into focus. Things move fast, but if you watch carefully, you will see that false apparently equals 0, and true equals 1. In C/C++, this works both ways: 0 is false, and anything that is not 0 is true.
So:
|
36 37 38 39 40 |
int a = 1000, b = -1000; if (a && b) { printf("both true.\n"); } |
will print both true to the console window which implies that both a and b are true. Not directly useful, but now you know. 🙂
Assignment
Let’s combine some things from the last couple of episodes.
Add a variable speedX to make the ball move horizontally as well. Use this to make the ball bounce from the left to the right side of the screen. When it reaches the right side, make it deflect on the right wall so it starts moving back to the left. After, say, 50 bounces, stop testing the screen bottom collision, so that the ball falls through and disappears.
Previous Part: Sprites and LoopsNext Part: Floats


 TheTemplate.zip

I’m not able to put condition for spriteX so that once it reaches right side start moving towards left
Try using an
ifstatement.I have two problems
I’m trying to make it stop bouncing after three times. Here’s my code after Game::Tick:
screen->Clear(0);
theSprite.Draw(screen, spriteX, spriteY);
spriteY += speed;
speed += 1;
spriteX += speedX;
for (int i = 0; i (512 – 50))
{
spriteY = 512 – 50;
speed = -speed;
screen->Clear(0xff0000);
theSprite.Draw(screen, spriteX, spriteY);
}
else
{
screen->Clear(0);
theSprite.Draw(screen, spriteX, spriteY);
}
}
I put a for loop, so I expected it to stop bouncing after i stopped being less than 3, but the ball keeps bouncing. What am I doing wrong?
Sorry, also the second problem is that the ball bounces higher everytime and goes off the screen after about 3 bounces. That’s why I didn’t do 50 times before not bouncing anymore.
Feel free to join our Discord server for answers to these questions.
https://discord.com/invite/gsxxaxc
Elijah,
Please join our Discord server: https://discord.com/invite/gsxxaxc